Showing posts with label other things to do with paper (3D projects). Show all posts

Monday, November 10, 2014

May Arts Ribbon and Coredination hop

It's time for another awesome team up hop with May Arts Ribbon and Core'dinations.
The May Arts design team are sharing inspiration all week long and you have a chance to win some goodies too.  If you haven't yet, spot by the May Arts Ribbon blog HERE for all the details.

For my post I went all festive with the holidays sneaking up on us.
A little holiday house gift box.
This box was easy to make and once assembled, easy to decorate with wonderful May Arts Ribbon.
First to start cut a piece of core'dination cardstock to 9" x 11"
Score the piece at 3" and 6" on the short side and 4" and 7" on the long side.
crease the score lines really good and then fold the box to form a "house" like so below.
Use double sided tape to adhere the folded creased pieces inside of the box to the two longer sides.  You can see this in the picture below.  Then cut the triangular top on the two long sides.  Start at the corner where the two sides meet and end in a point in the top middle.
The last step in to add a top for your house box by cutting a strip of paper to be 4" x 3 1/4" and creased down the middle.
I decorated m house with May Arts Adhesive Scallop Boarder around the top.  Added a cute little puffy heart from the Satin Cut Outs collection and ten tied it up all pretty with some Bakers Twine.

This would be cute to put little toys in or a gift card to give as a gift or to even place them on a table for a holiday party.  Simple to make, with not a lot of supplies and super adorable.
I hope you enjoyed what I created with awesome May Arts Ribbon and cool Core'dinations paper.
Don't forget to stop by the May Arts Ribbon blog to check out all the great inspiration all week and for a chance to win a nice price.

post signature

Thursday, July 24, 2014

CHRISTMAS IN JULY hop

 No you're not seeing things.  It is the the middle of summer but we're ready to get you into the Christmas spirit.  I mean there really isn't too soon of a time to be ready for the BIG day right!
The inspiration crew is back for another holiday hop!
Come hop along with us for awesome holiday inspiration and prizes scattered along the way.
Darnell Knauss

 Here's what I have for you all.
Every holiday season I bake a little love (sometimes a lot of love) to share with friends and families.  To tell you the truth I'm not a regular everyday baker but there's something about the winter season that makes me want to warm up my oven and whip out the flour.  I think the main drive to this sudden surge is that I want to wrap all the yummy goodies up in pretty paper.

Everyone loves home baked goodies but put them in custom homemade containers and they're out of this world.  So today I'm sharing simple, cheap and adorable ways to wrap up your holiday bake goods.

This one is for your individual treats.
The bad is a regular ziplock bag with the corners taped in.  The cinnabun roll sits on a piece of freezer paper folded up nicely.  Add pretty paper to the top, wrap around string and stamp out and cut a circle tag.  You're done!

These are for your super small goodies.
You can get these small circle containers in bulk for cheap at your local hobby store.  They usually come with a clear cover but I just popped that out and added a stamped circle pattern paper and tied around some string.

Your really big ones.
For all your big treats or to bag up a bunch of yummy goodies, you can use my favorite.  A brown paper lunch bag.  I love these brown paper bags.  They are so cheap, comes in bulk and easily customizable.  Here I just folded the top over and added a cool tag and string.

The sack.
 Now here's how to give a treat.  This is a plain mini canvas drawstring bag.  Like the circle box you can find these at your local craft store.  To jazz it up all you have to do is insert  piece of paper in the bag and stamp.  I also stamped little peppermint circles and glued them to the pulls.  Oh and don't forget the tag.

Usually if I'm feeling ambitious I would make something for all these containers and group them together in a nice little basket.  Just imagine how pretty these would look all together in a cozy basket.  Adorable!  What is even better is that I just used half of two sheets of pattern paper, one type of string and one stamp set to make them all.  Cheap and easy and filled with love!
 I'm telling you now.  Pin this post now to use in December.
 Now go get inspired and hopping.  Your next stop is the sweet Jen Cuthbertson.

post signature

Thursday, February 6, 2014

May Arts Ribbon release week with PRIZES!

 Hello Hello!
Wanted to shout it out to all of you who don't know it yet.
IT'S MAY ARTS RIBBON RELEASE WEEK!
I'm so in love with every single roll of awesomeness.  There really is something for everyone.
In celebration, the May Arts Ribbonistas are getting together for a week of lovely inspiration using the new stash.  AND the awesome ribbon lady is giving away the winners choice of 2 spools from the new release.  Read all about it HERE.
 Don't forget to stop by the May Arts ribbon blog HERE to check out my project.
I would so totally adore it if you did.
Plus I have a tutorial on that little hanging hearts mobile.
post signature

Friday, January 31, 2014

Valentine's Day Hop (Love fish tutorial)

 Hello all my blog friends!
 The Inspiration Crew is hopping along to inspire all you DIY crafters to get into the Valentine's Day mood.
I'm sharing a different way to share your love with others.
 Cards are always popular on Valentine's Day but I wanted to switch it up a bit for my kids this year.
Just for them I made little paper fishes on a poll.  
Inside of each fish holds a special love note for each of them.

Here's a quick little tutorial so you can make your own little love fishes.

Gather up your supplies.
 You will need two circles, three hearts, a piece of string and a lollipop stick.

Wrap and tie one end of the sting to the end of the lollipop stick.

Adhere the hearts and circles.
First use double stick tape on one of the circles  to adhere the string.  Then add two of the hearts to the circle as shown with glue.  Note that the fish's mouth (where the string is) will be adhere so that the top of the hearts are just sticking out a bit.  This will be in opposite of the tail end where you adhere just at the tip of the heart.

 Next add your little love note then top with the other circle.  To adhere the two circles together I stitched around the edge but you could also use glue if you wish.  To finish use the last heart and adhere the tip of the heart to the circle making a fin.
 Product used: Pattern Paper from Authentique "Smitten" collection, Fibers from May Arts Ribbon "Burlap String"

 I think my kids will really enjoy getting their love note in these cute fishes.
Now for more inspiration from my awesome crafting friends.


post signature

Monday, December 9, 2013

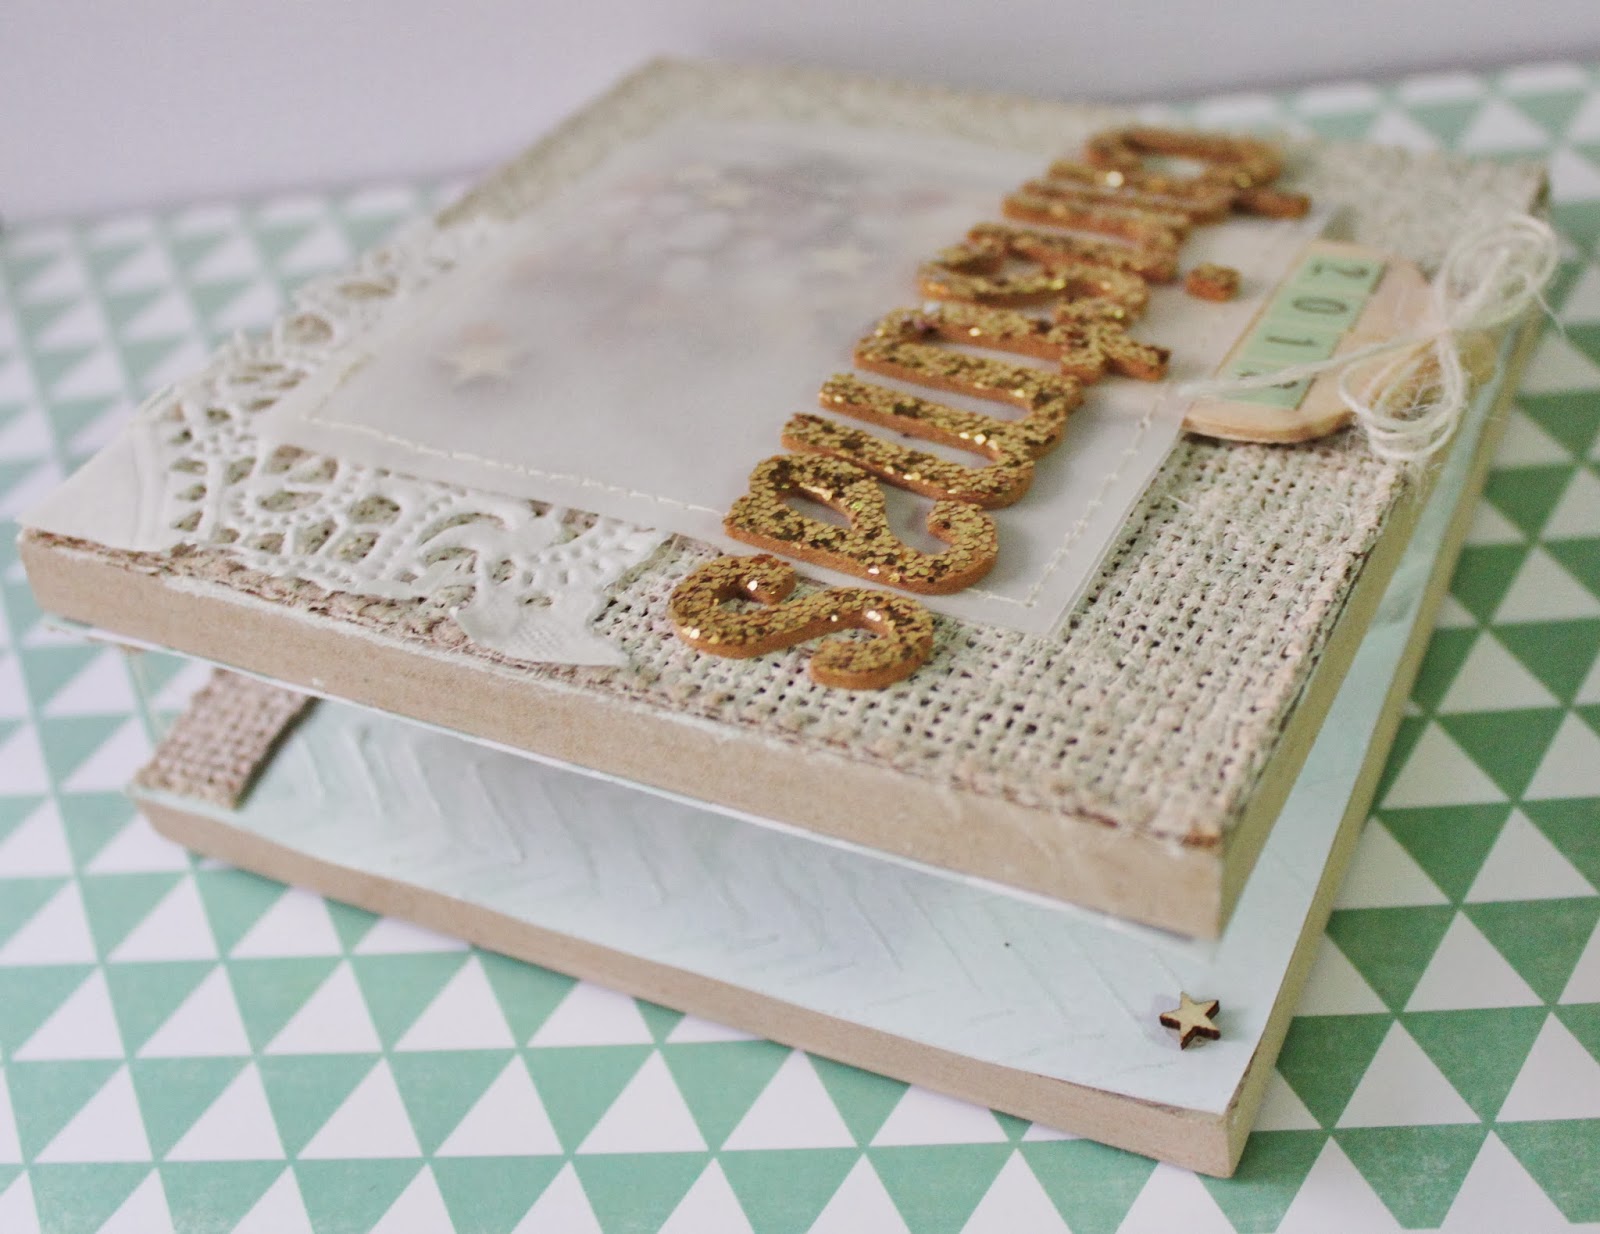
Photo frame card Day 9 of 12 Days of Holiday Inspiration

Holidays and photos just go together.
Every year our family prints out tons of photos to send out all over and I'm always looking for different ways to share them.  Especially for Grandma who lives all the way in California, We like to make the pictures of her grandchildren extra special.  Today I'm sharing a photo frame card I made for her that we will be adding the photos of this kids to.
 I got this plain wood frame from a local craft store for a couple dollars and jazzed it up all special.
Here's the front and introduction to what's to come inside.
Here's the inside with a hidden journaling pocket on the left and a place for a picture on the right.
I just adore the frame for all it is.
A cover, a spot for a message and of the picture.
 I hope I inspired you to send a special photo frame to someone special this holidays.
Now for more awesome inspiration from my lovely friends.

Maybe you could make one with all of these goodies.
 You get one entree by doing each of the following
Follow my blog HERE (email or blog lovin' or whatever)
Like my Facebook page HERE and leave me a comment there.
Follow me on Instagram HERE and leave me a comment here.
Follow me on Twitter HERE and tweet the hop and link me.
and a BONUS 10 extra points each for sharing the giveaway picture on your blog, Facebook, Instagram, or twitter.  Leave a comment after each.
That's a total of 34 possible chance EACH DAY to win all this holiday goodness.
(Contest ends on December 13, winner will be randomly chosen from all qualified entrees
 
Happy Hopping!
post signature

Monday, December 2, 2013

Make a mailable card display tutorial

 Hello and welcome to day two of the inspiration crews 12 days of  holiday projects blog hop.
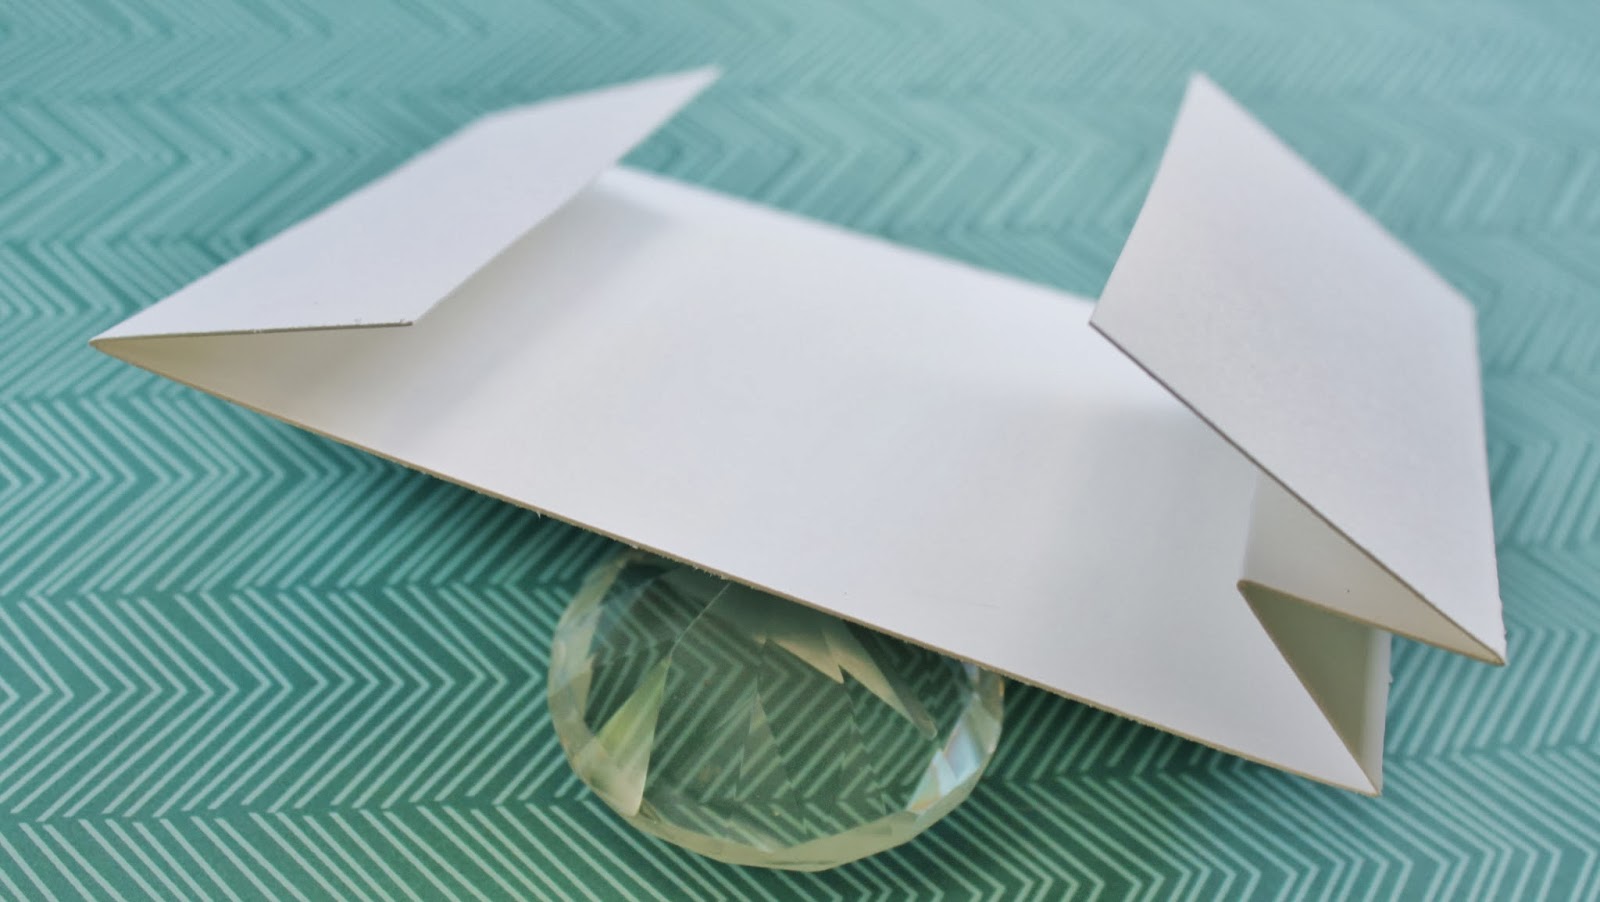
Today I'm sharing a DIY card self standing display that's totally mailable.
 I enjoy making our family's holiday cards every year.  A lot of thought, product and time goes into each card I make for our family and friends so I thought of away to make these cards displayable.

 For the base of this card you'll need just one really sturdy 11 x 8 1/2 piece of paper.
Cut it so you have one strip of 11 x 4 1/4 and two peices of 5 1/2 x 4 1/4 (you'll only be using one of these)

 Next take the longer piece and score it at 1 1/2, 7, 8 and 9

 Fold creases like so

 The next step is to adhere the front 5 1/2 x 4 1/4 piece to the end tabs.
In the picture below you can see inside the display where the ends or adhered to the front piece.

That is basically it.
Now you just have to add your picture and make it pretty.

Since we have family all over it was important that this card, although a display, was mailable.
The design of it makes it easy to flatten and fits into a regular size card envelope.
Note: You may have to pay more for shipping depending on the products you use.

Thanks so much for stopping by.  And if you ever make a "mailable card display" please let me know.  I would love to see it!
Now go check out all the holiday awesomeness the rest of the ladies have for you.

 Also be sure to enter my holiday giveaway!
You get one entree by doing each of the following
Follow my blog HERE (email or blog lovin' or whatever)
Like my Facebook page HERE and leave me a comment there.
Follow me on Instagram HERE and leave me a comment here.
Follow me on Twitter HERE and tweet the hop and link me.
and a BONUS 10 extra points each for sharing the giveaway picture on your blog, Facebook, Instagram, or twitter.  Leave a comment after each.
That's a total of 34 possible chance EACH DAY to win all this holiday goodness.
(Contest ends on December 13, winner will be randomly chosen from all qualified entrees)

Have fun hopping!
post signature

Sunday, December 1, 2013

Day 1 of 12 Days of Holiday Inspiration (and GIVEAWAY)

 Hello crafty friends.  Who's ready for Christmas?
It's crazy to think that Christmas is a short 25 days away.  But some of us crafting girls are here to inspire you to bust out those winter holiday goodies.  Welcome to day 1 of your daily 12 days of holiday inspiration motivation.
 Today is all about Lawn Fawn.
I mean who doesn't love Lawn Fawn with their super adorable stamps.  What's even better is now they make super adorable paper and die cuts.  I use a little bit of all of that here.  "Puffy Star Stackables" die cuts, paper from their "Peace Joy Love Collection kit" and stamps sets in "Claire's ABCs", "Critters in the Forest" and "Winter Owl" (I LOVE that owl).

Here's a close look at it all.
A winter tree.
 Be Merry card.

Now who's ready for more awesome Holiday inspiration?
Check out what the other ladies have for you.

 Oh and I almost about my GIVEAWAY!
Yes I love the holidays and I love sharing so I put together a little Holiday give away for one lucky crafter.  
There's a little bit of eveything in here.  Lawn Fawn stamp and die cuts, DCWV paper stack, Memento inks and lovely May Arts ribbon.  So what do you have to do to win?
You get one entree by doing each of the following
Follow my blog HERE (email or blog lovin' or whatever)
Like my Facebook page HERE and leave me a comment there.
Follow me on Instagram HERE and leave me a comment here.
Follow me on Twitter HERE and tweet the hop and link me.
and a BONUS 10 extra points each for sharing the giveaway picture on your blog, Facebook, Instagram, or twitter.  Leave a comment after each.
That's a total of 34 possible chance EACH DAY to win all this holiday goodness.

Have fun hopping!
post signature

Tuesday, November 12, 2013

Pinspired Challenge #21

 Get ready to welcome some yummy fresh November PINspiration.
 It's PINspired Challenge time and our minds are all on baking.  Especially with this super trendy color blocking pin we found for you all to be inspired by.
I was of course inspired to ink up this super cute Stamping Bella stamp with her yummy cookies.
I was also inspired to try something new and ink her up in pink.
How are you PINspired?
Don't forget to stop by and link up you pinspiration.  We love to see it!

post signature